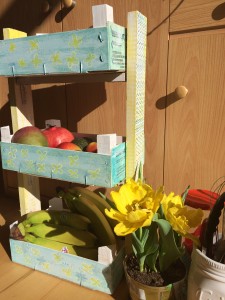
An Étagère is not just a space-saving kitchen hack but also an important part of home decor, bringing elegance into the whole equation. Traditionally, they were a part of coffee tables or tea times to hold all the pralines, cupcakes and cookies during the Baroque ages. But today they are not just confined to tables but to almost every corner of the house. I made this Étagère for fruits, so that I can store peeled and unpeeled ones, big and small, all in different tiers.
I needed :
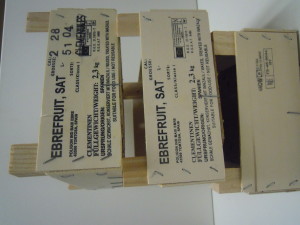
- Three fruit crates each measuring 11 ½ inches length, 7 ½ inches breadth, 4 inches height
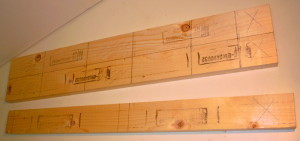
- Two 23 inches long wood panels for the sides
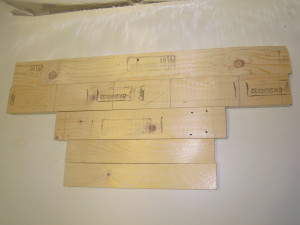
- 2 small panels each measuring 11 ½ inches ie. The length of the crate
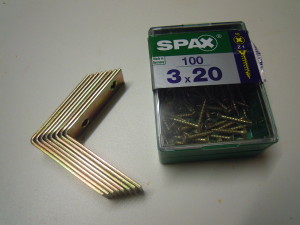
- 6 * 3mm metal angles + screws
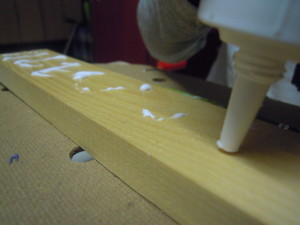
- Wood glue
- Colors
Method
- Measure the length, breadth and height of the crate.
The length of the side wood panels should be the height of crate + the gap between two crates + the number of shelves you want to have Measure and mark the panels.
- Glue the small panels to the center of each crate leaving the bottom crate. Let them dry.
- Fix the angles to the panel glued to the crate.
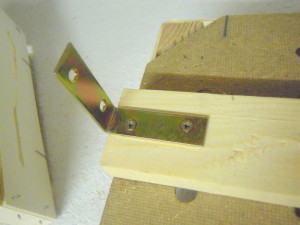
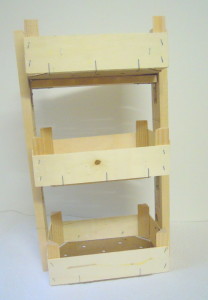
- Attach the two wood panels with the help of angles and screws on both sides of the bottom crate.
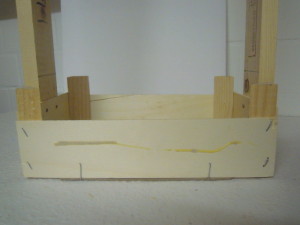
- Now screw the middle and top crates to the side panel as shown in the picture
- Paint the inner side with white acrylic paint.
For the outer sides, I applied a thin coat of water color and light strokes of white.
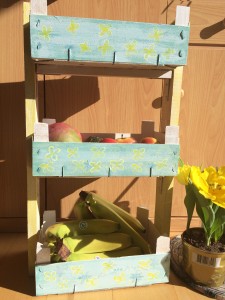
With this mix of blue and yellow and with a touch of Scandinavian style, welcome spring into your home.


So well explained through pictures and so much fun! Nice one
Thank you Priyanka, yes Sunita is a whiz at DIY! 🙂